Alpine.js in-depth: listen to JavaScript events using x-on
The core Alpine.js functionality beyond toggling visibility, displaying data in HTML textContent and binding HTML attributes to data is listening for events using Alpine.js. Listening to events with x-on is usually coupled with state updates, for example we can create the following “counter” using x-data, x-on and x-text.
<div x-data="{ count: 0 }">
  <button x-on:click="count--">Decrement</button>
  <code>count: </code><code x-text="count"></code>
  <button x-on:click="count++">Increment</button>
</div>
Table of Contents
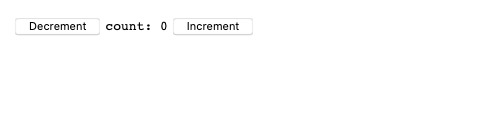
Since count starts at 0, the Alpine.js component initialises as follows. This is due to the x-data="{ count: 0 }" initial state.
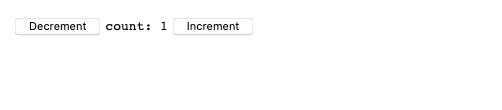
The component increments when the “increment” button is clicked. This is done through the x-on:click="count++" which listens to “click” events on the button (x-on:click) and on each click will run count++.
Event binding shorthand
In a similar fashion to x-bind having the : shorthand, x-on:event-name="expression" can be written as @event-name="expression". Again this is reminiscent of the Vue.js v-on shorthand.
Which means our previous example can be written as follows:
<div x-data="{ count: 0 }">
  <button @click="count--">Decrement</button>
  <code>count: </code><code x-text="count"></code>
  <button @click="count++">Increment</button>
</div>
Reactive show/hide
The following is an example of the strength of Alpine.js, combining x-data, x-on and x-show to show/hide pieces of content based on a count value.
<div x-data="{ count: 0 }">
  <button @click="count--">Decrement</button>
  <code>count: </code><code x-text="count"></code>
  <button @click="count++">Increment</button>

  <p x-show="count === 1">
    Shown when count is 1 using <code>count === 1</code>
  </p>
  <p x-show="count >= 0">
    Shown when count is greater than or equal to 0 using <code>count >= 0</code>
  </p>
  <p x-show="count === 2">
    Shown when count is 2 using <code>count === 1</code>
  </p>
</div>
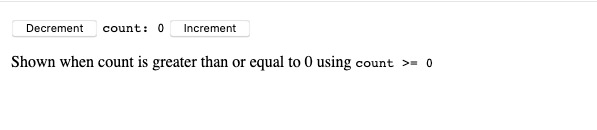
In the initial state we get the following output.
After 1 click of the “increment” button, count will be 1 and we will see the following output.

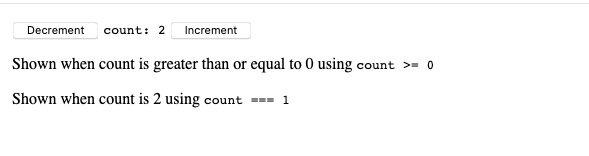
After another click of the “increment” button, count will be 2 and we will have the following output.
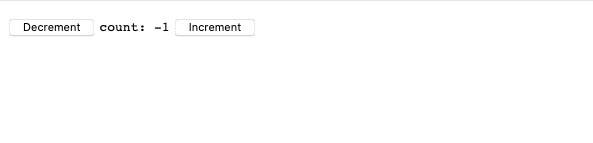
If we decrement all the way to -1, we see that the “greater than or equal to 0” paragraph also disappears.
We’ve now see how to listen to events and update state accordingly using x-on.
You can find the examples for this post at Alpine.js Handbook Examples - 1.4 Listening to events
That’s it for this post, you can check out the Alpine.js tag on Code with Hugo for more in-depth Alpine.js guides.
If you’re interested in Alpine.js, Subscribe to Alpine.js Weekly. A free, once–weekly email roundup of Alpine.js news and articles.
Photo by Alexander Andrews on Unsplash
Interested in Alpine.js?
Power up your debugging with the Alpine.js Devtools Extension for Chrome and Firefox. Trusted by over 15,000 developers (rated 4.5 ⭐️).
