Auto-publish future posts with JAMstack on Netlify and IFTTT/CircleCI 2.0 scheduled jobs
Static site generators like Hugo, Jekyll, Hexo, Gatsby or other JAMstack alternative are a great option to run your blog on.
One of the earliest and possibly most painful issues you will come across is “How do I schedule content to publish for later?”.
In the traditional database-backed blog site, using WordPress or Ghost for instance. The posts are retrieved on access (at run-time in Computer Science-speak). To have a post that only starts appearing after a certain date is as simple as having a field with a “publishedAt” date, and some code that checks whether that field is before or after the current date.
Enter the JAMstack. It doesn’t run using a classic PHP/Node.js/Python/Rails server-side component backed by a relational or non-relational database.
JAMstack: Modern web development architecture based on client-side JavaScript, reusable APIs, and prebuilt Markup.
See jamstack.org and jamstack.wtf
Instead the JAMstack does the bulk of the processing work at build-time (as opposed to runtime). This tends to have a bunch of benefits like improved cache ability, higher leverage of a CDN (Content Delivery Network) which all contribute to a snappier experience.
The downside of this ahead-of-time computation of all the pages on the site is that there isn’t an obvious way to do “scheduled” posts. To make a post appear, you need to re-build the site after its “publishedAt” date so that it’s included in the build pages.
This post goes through how to achieve this using modern tools. Namely CircleCI 2.0 or IFTTT and Netlify (which is a hosting platform specialised in JAMstack sites).
codewithhugo.com used to run its daily builds using the CircleCI scheduled job approach but was updated to use IFTTT.
Table of Contents
Enable Netlify build hooks
Pre-requisite: your site must be deployed using Netlify
Create a build hook by going to https://app.netlify.com/sites/{{your_site_name}}/settings/deploys#build-hooks
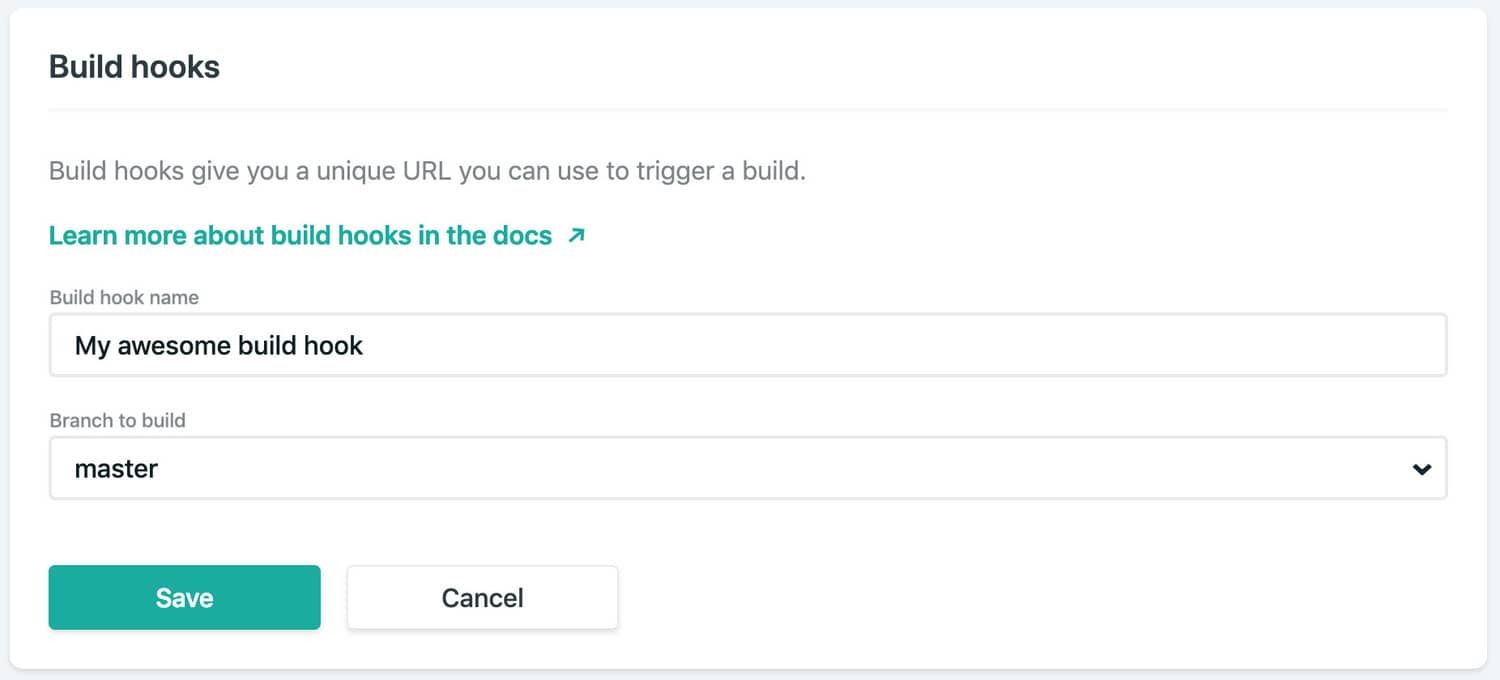
Once you click “Save”, you now have a new deploy webhook, which you can open and copy the curl -X POST -d {} https://api.netlify.com/build_hooks/{{your_hook_id}}.

Create a scheduled CircleCI job to re-deploy your site
Pre-requisite: your site must be set up with CircleCI which you can do following the official “Getting started” guide
We’ll add a job to trigger Netlify builds and schedule it by amending your .circleci/config.yml (see the final config.yml)
Trigger Netlify deploys from CircleCI
In the jobs section, add a deploy or trigger_deploy job that uses any arbitrary CircleCI image (all CircleCI docker images contain curl which is what we’ll use to trigger the build). In config-speak that’s a docker key that contains eg. - image: circleci/node:latest.
In terms of steps for the deploy job, all we need is the curl command that we previously copied. That’s - run: curl -X POST -d {} https://api.netlify.com/build_hooks/{{your_build_hook_id}}.
Schedule the CircleCI job for daily execution
To schedule a CircleCI job, we’ll need to look at the workflows sections of the .circleci/config.yml.
In this section we should add an autopublish workflow with triggers set to schedule with a cron expression and a branch filter, and the job set to - deploy (or whatever other name we used in the previous section):
    triggers:
      - schedule:
          cron: "00 7 * * *"
          filters:
            branches:
              only:
                - master
    jobs:
      - deploy
Here’s the full workflow block:
workflows:
  version: 2
  autopublish:
    triggers:
      - schedule:
          cron: "00 7 * * *"
          filters:
            branches:
              only:
                - master
    jobs:
      - deploy
CircleCI runs on UTC time, so the CRON job will run at 7am UTC, which is fine for me since I’m in the UK where we’re always give or take a couple of hours from UTC. For someone in the US, you may want 7 or 8am your time, which would be something like 12pm (for EST).
You can play with the CRON expression at crontab.guru, but for daily auto-publishes, you should just play around with the 00 7 part of the expression. If you want hourly deploys, you would get rid of the 7 since that denotes the hour, and go with something like 00 * * * *.
Full .circleci/config.yml
version: 2
jobs:
  deploy:
    docker:
      - image: circleci/node:latest
    steps:
      - run: curl -X POST -d {} https://api.netlify.com/build_hooks/{{your_build_hook_id}}

workflows:
  version: 2
  autopublish:
    triggers:
      - schedule:
          cron: "00 7 * * *"
          filters:
            branches:
              only:
                - master
    jobs:
      - deploy
Create an IFTTT applet to re-deploy your site
Create a new applet
Go to ifttt.com, log in and go to your home screen.
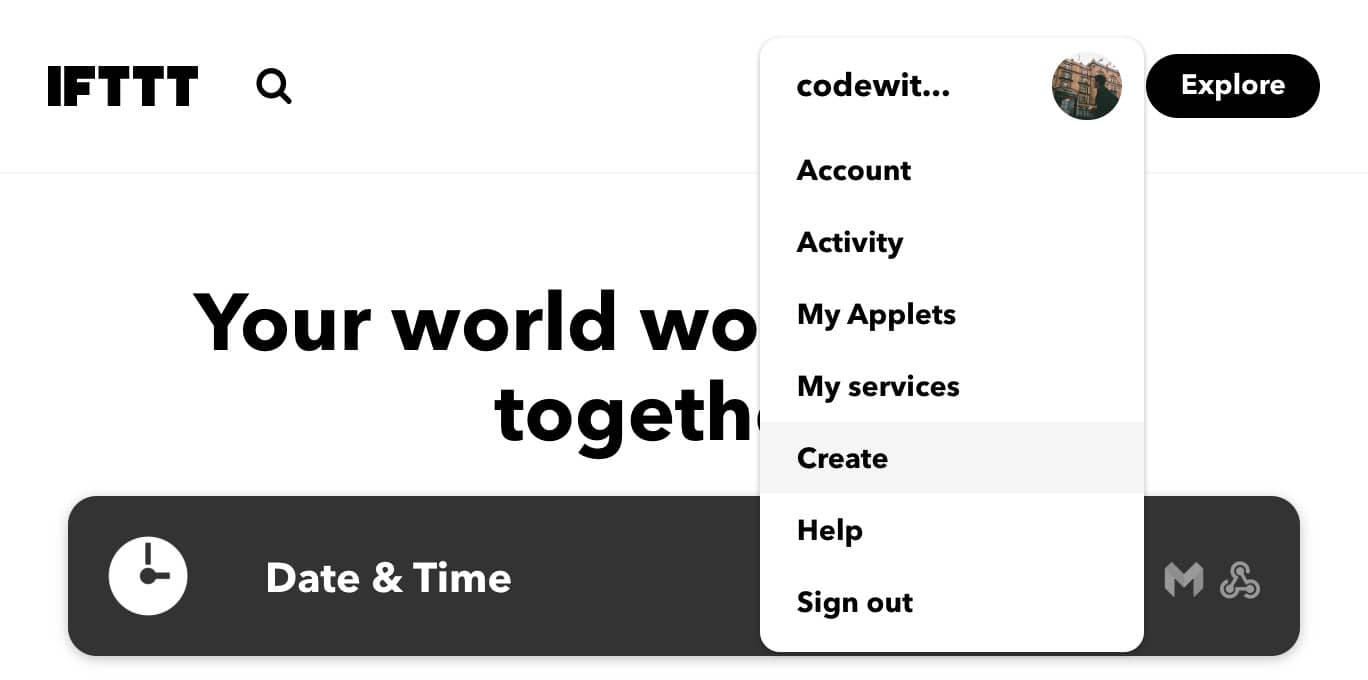
Open the menu and select the “Create” option:
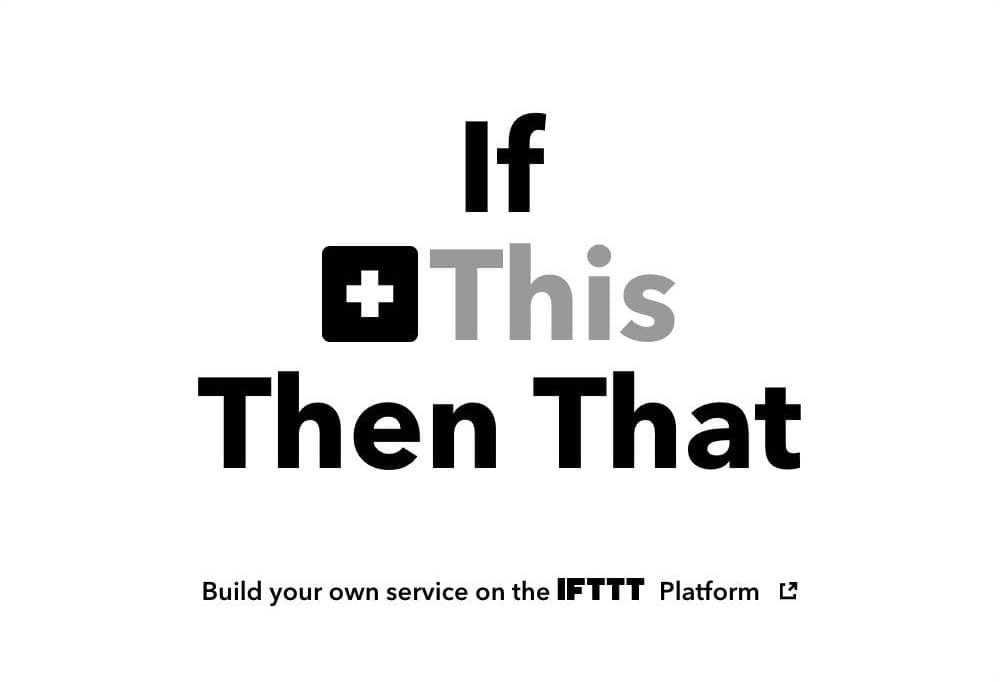
Click on “This” on the applet creation screen:
Add a daily date trigger
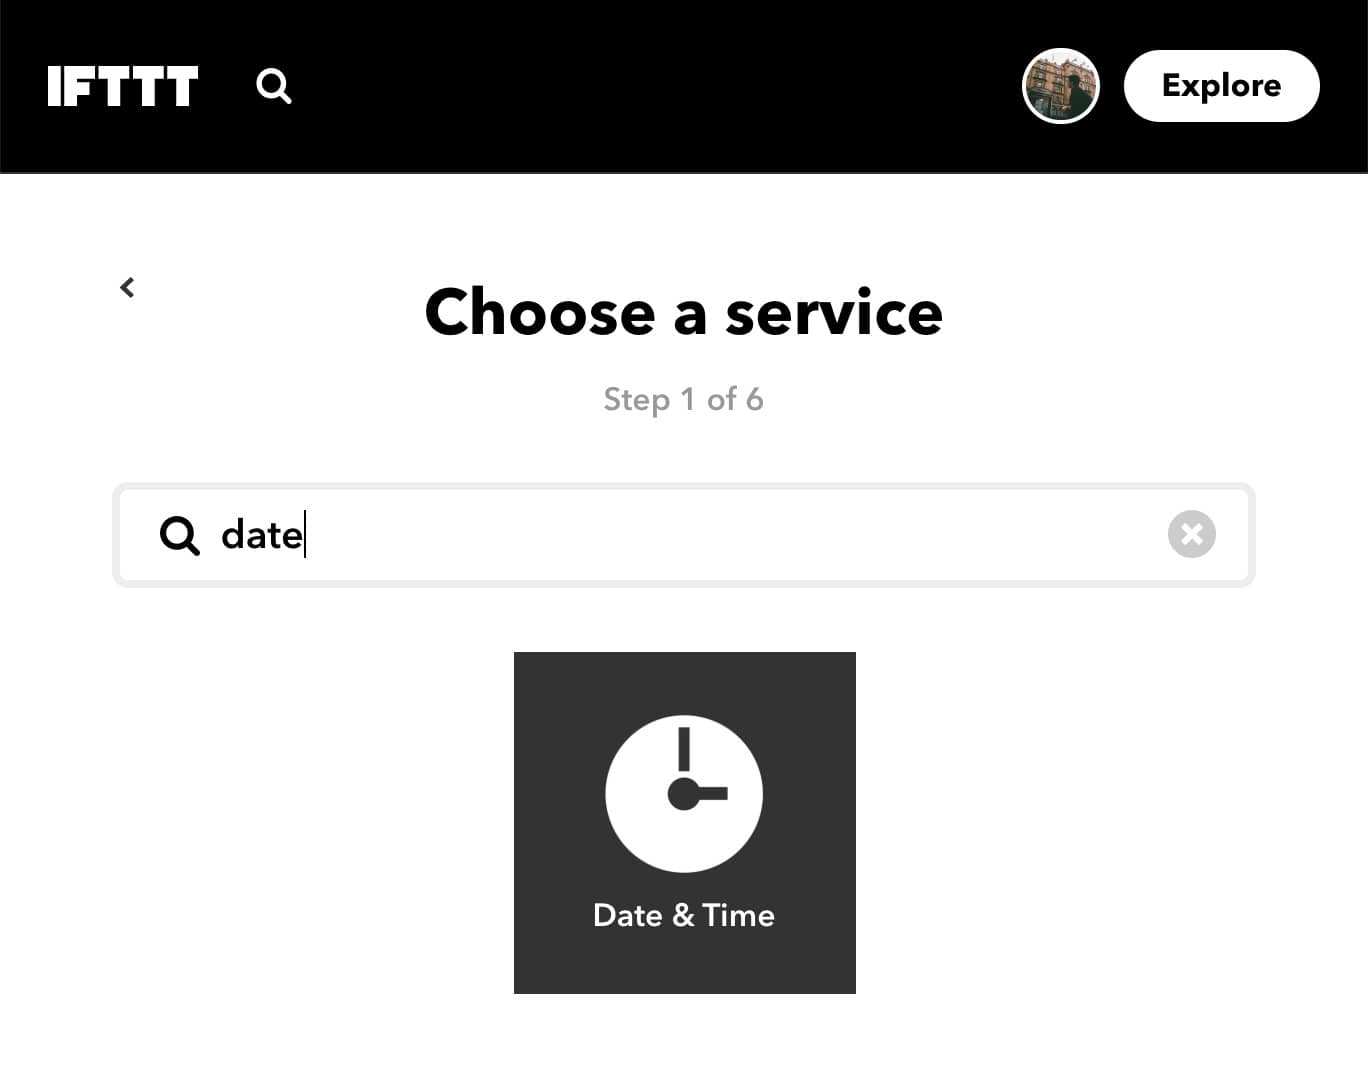
Search and select the “date” service:
Choose the daily trigger “Every day at”:
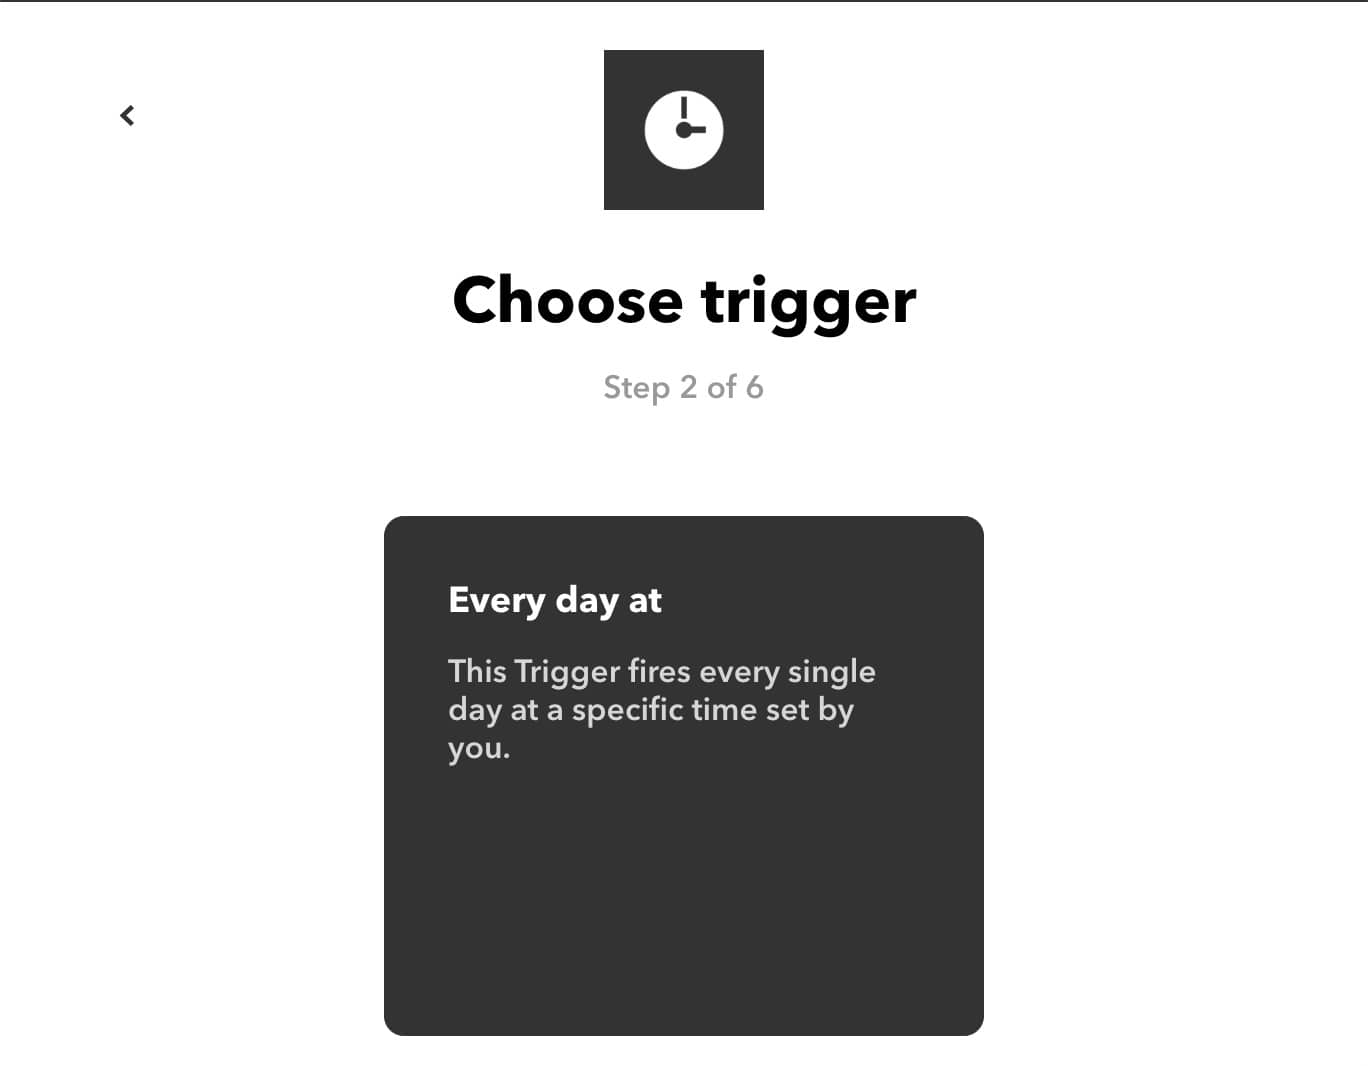
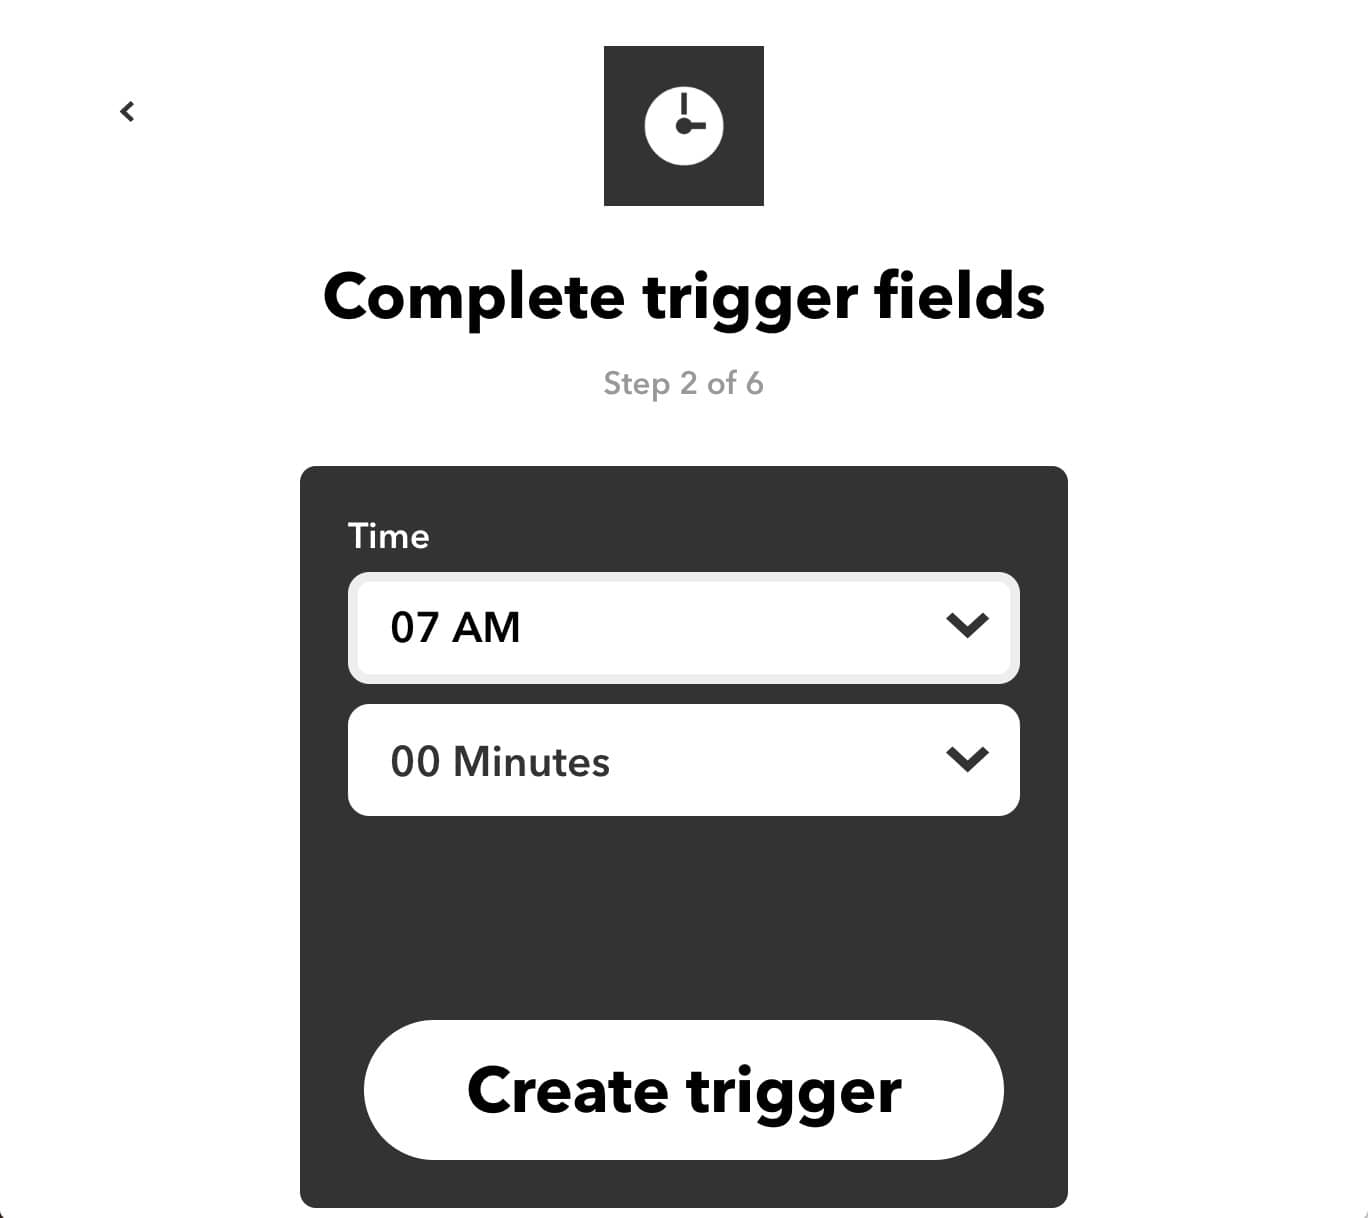
Set the time at which the trigger should run every day (7AM):
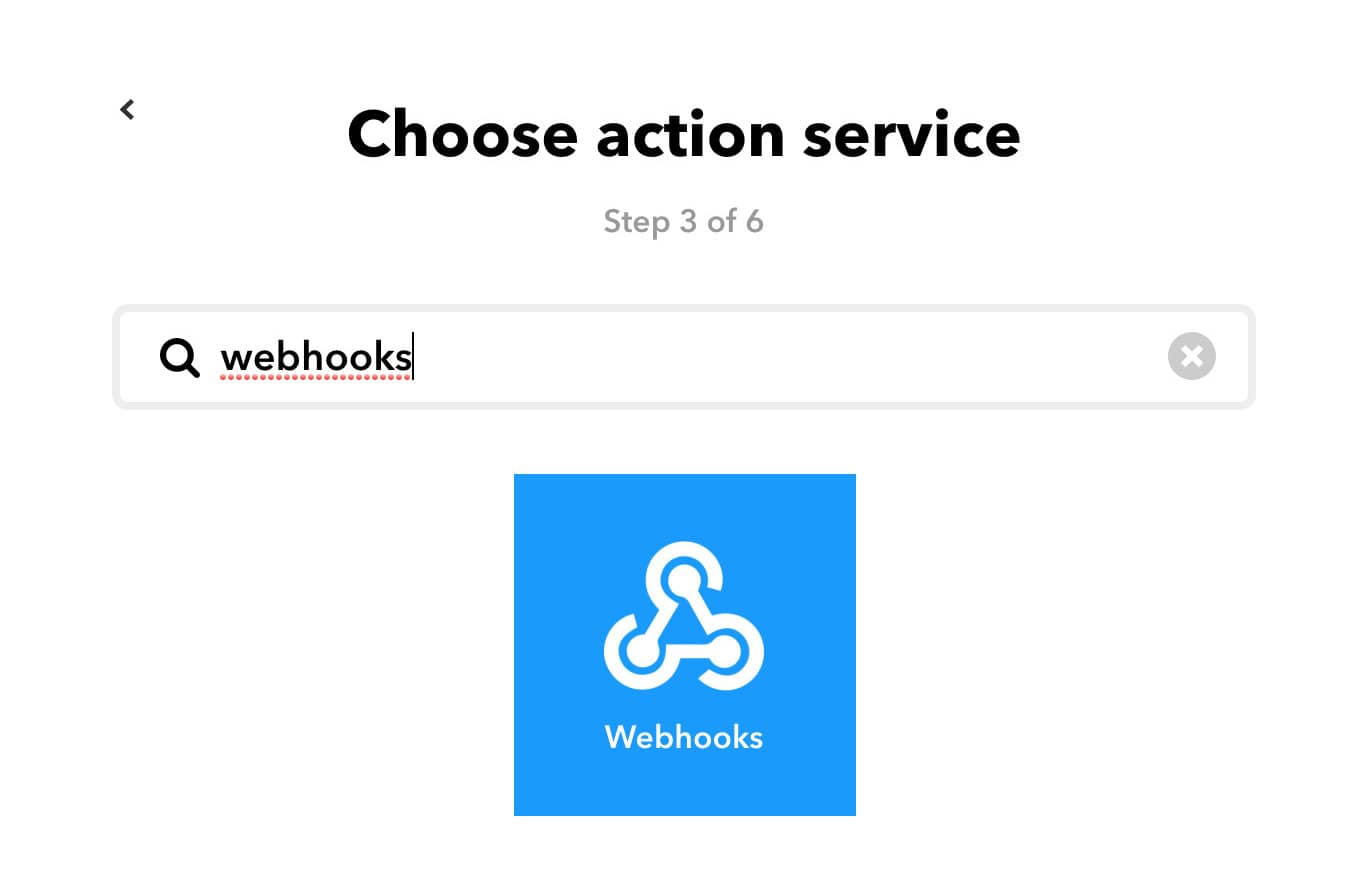
Integrate the “webhooks” action service
Search and select the “webhooks” action service:
Select the “Make web request” action:
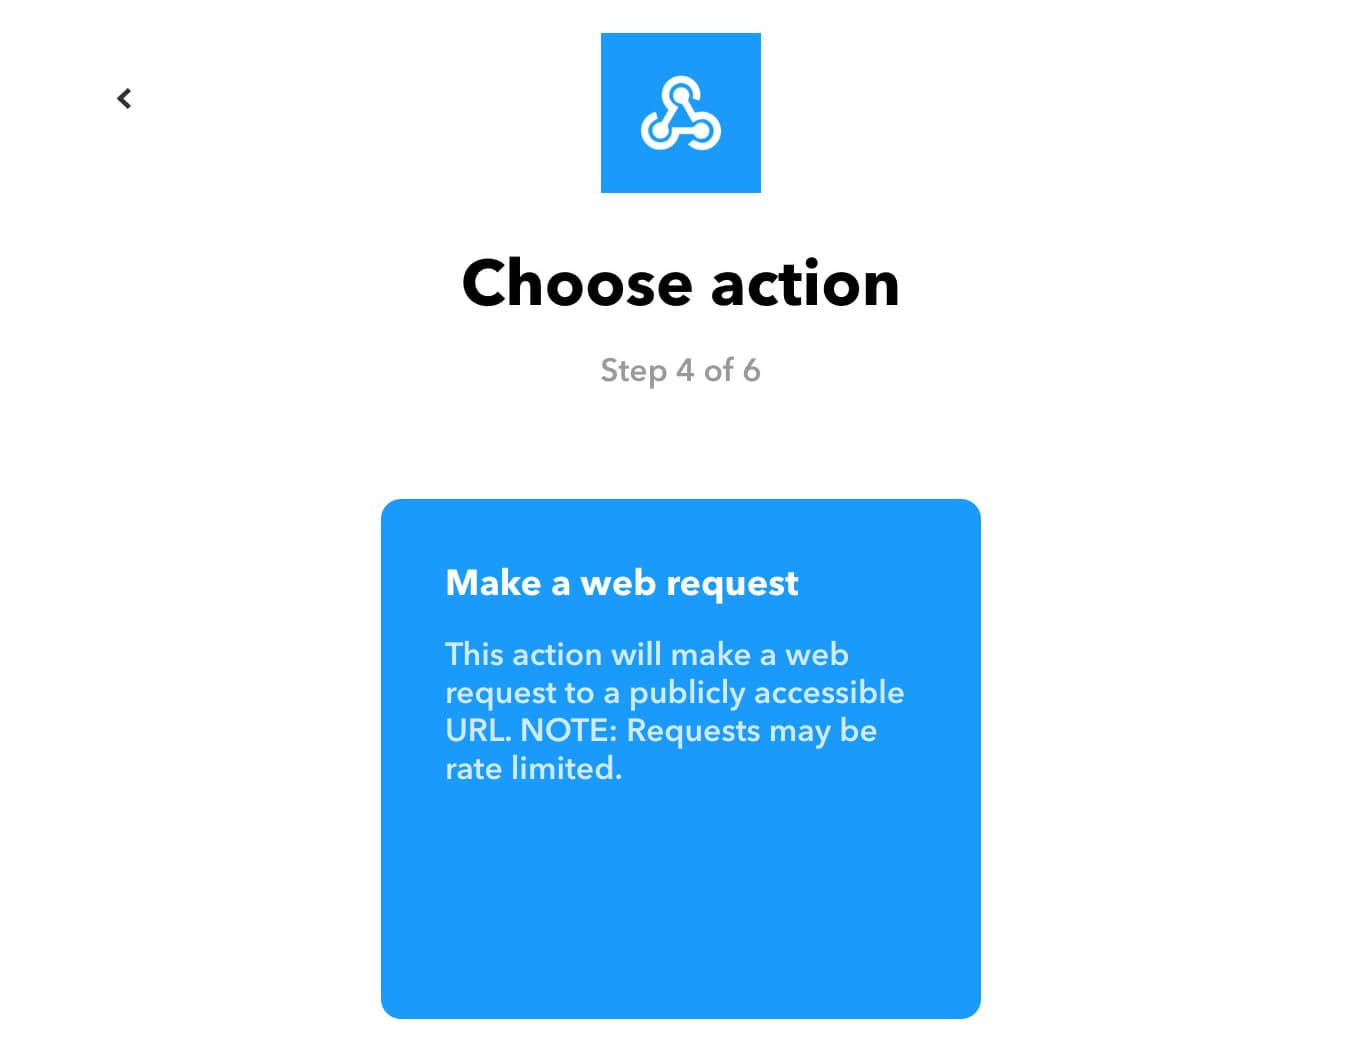
Configure the webhook action
Configure the webhook using your Netlify build URL, setting the Method to “POST”:
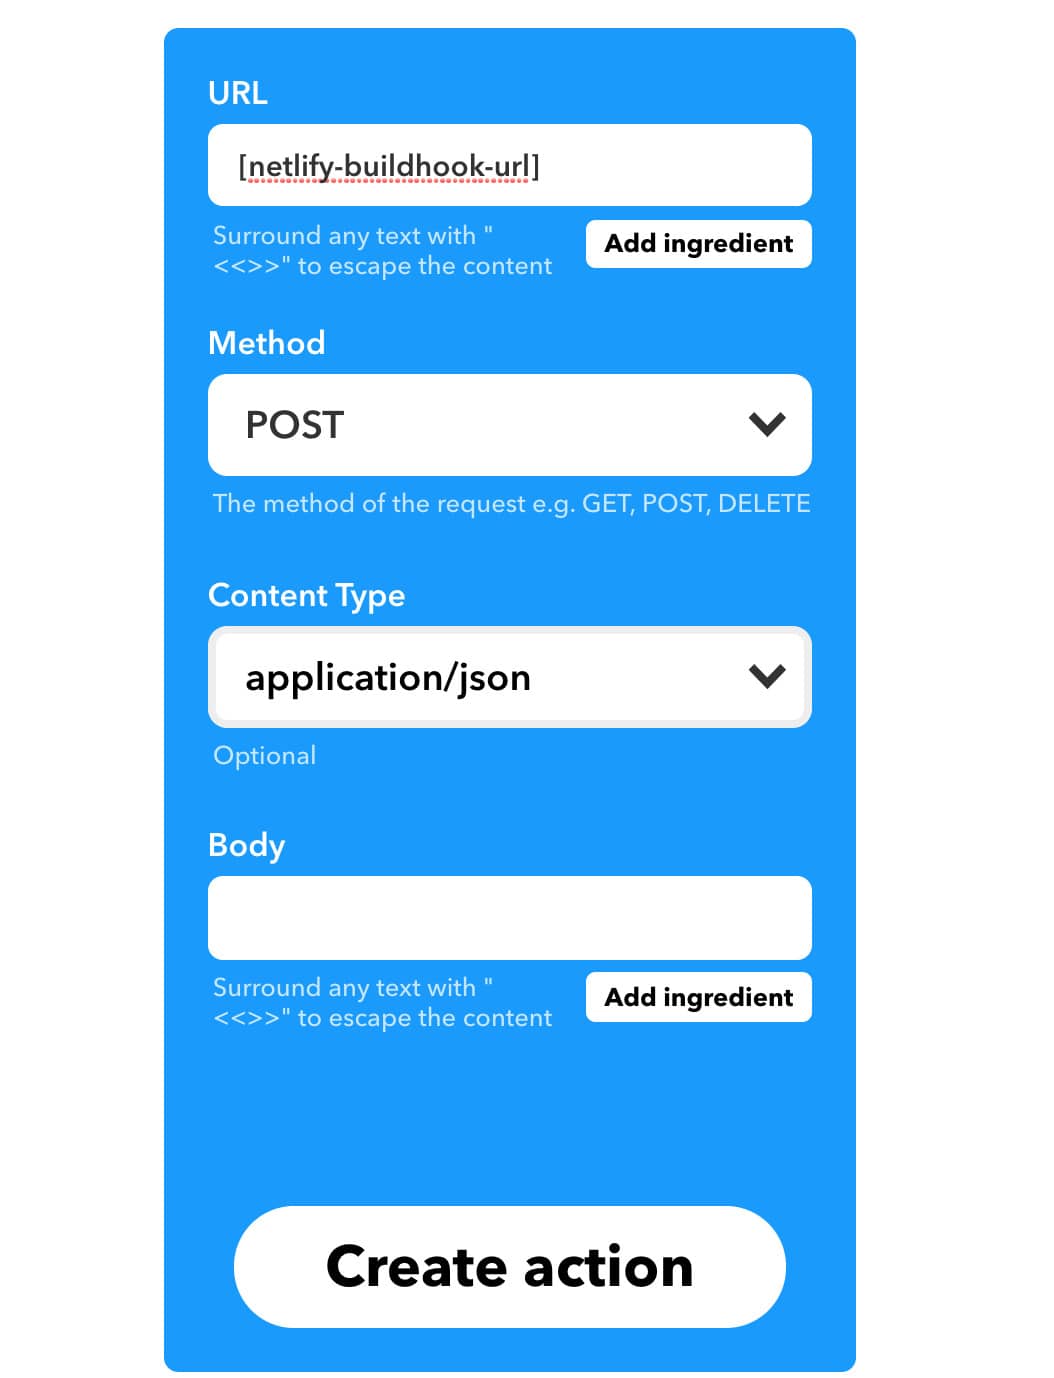
Save the applet and validate that it works
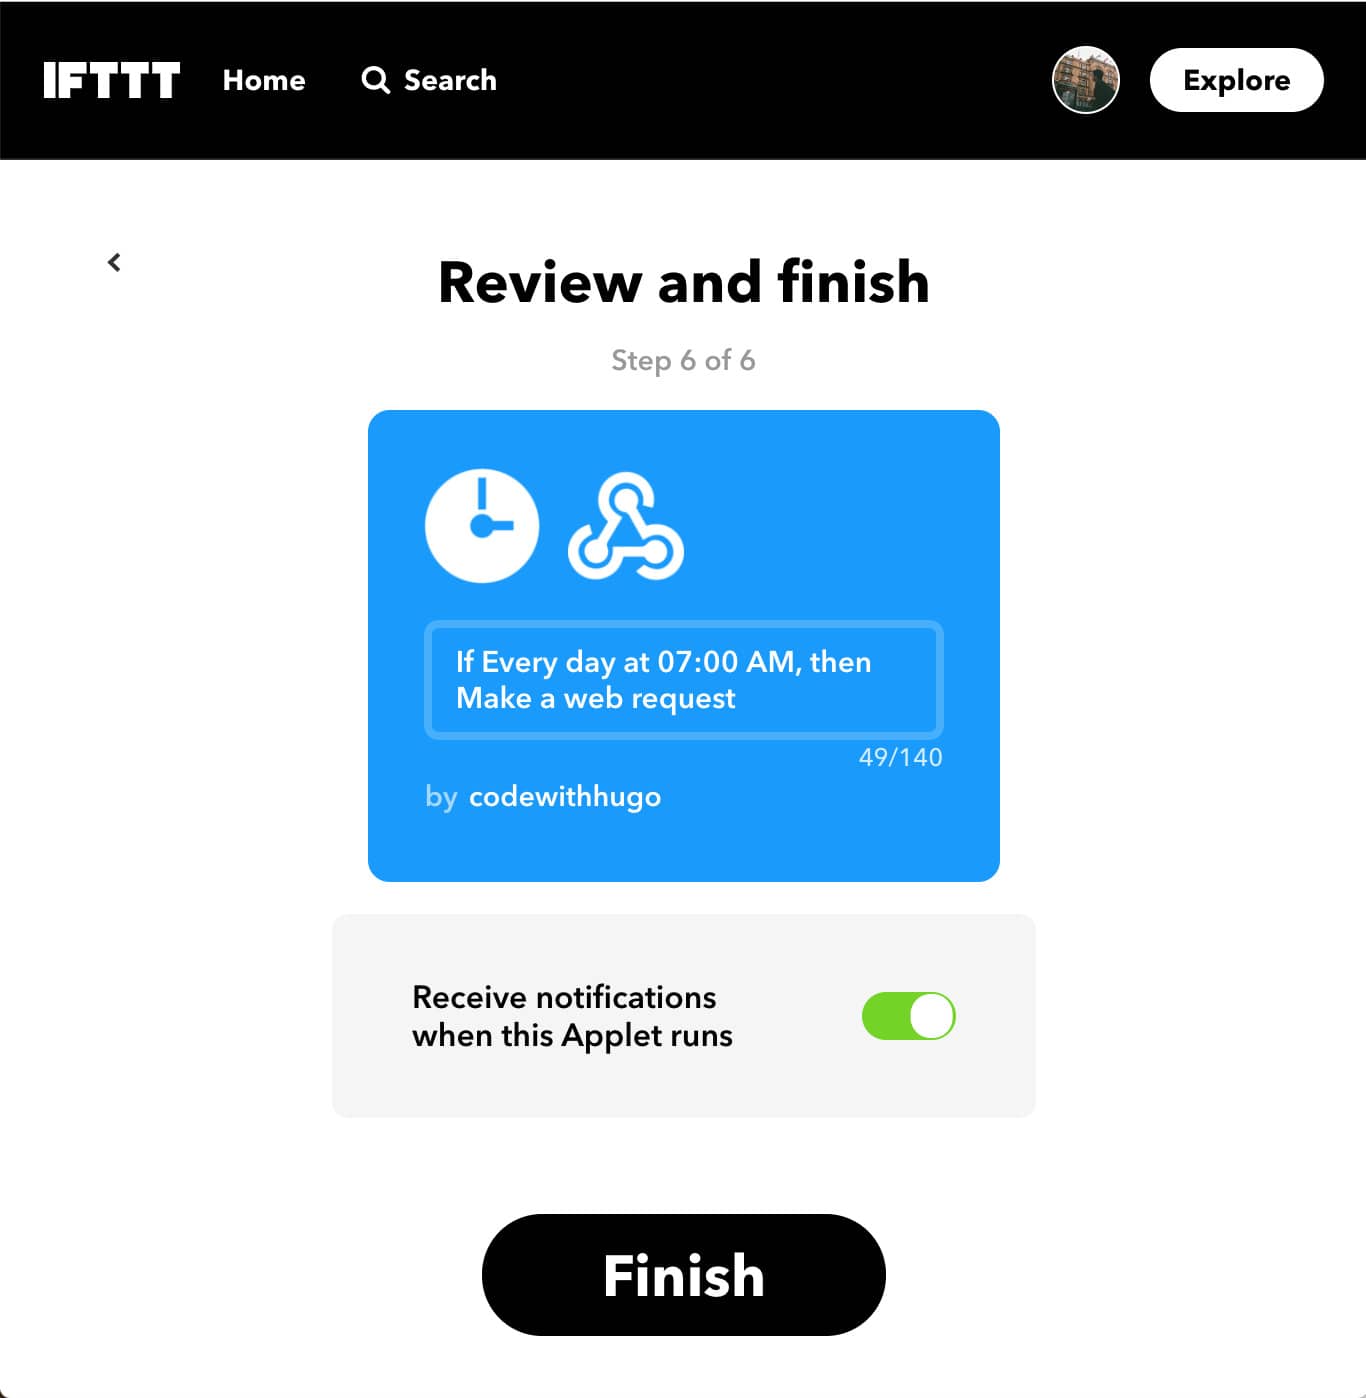
On the final screen check “Receive notifications when this applet runs” and check that it does the following morning:
Interested in Alpine.js?
Power up your debugging with the Alpine.js Devtools Extension for Chrome and Firefox. Trusted by over 15,000 developers (rated 4.5 ⭐️).
orJoin 1000s of developers learning about Enterprise-grade Node.js & JavaScript