Alpine.js in-depth: listen to JavaScript events using x-on
The core Alpine.js functionality beyond toggling visibility, displaying data in HTML textContent and binding HTML attributes to data is listening for events using Alpine.js. Listening to events with x-on is usually coupled with state updates, for example we can create the following “counter” using x-data, x-on and x-text.
<div x-data="{ count: 0 }">
  <button x-on:click="count--">Decrement</button>
  <code>count: </code><code x-text="count"></code>
  <button x-on:click="count++">Increment</button>
</div>
Table of Contents
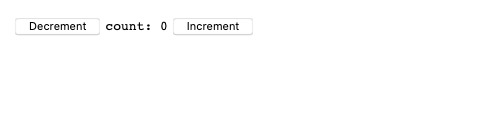
Since count starts at 0, the Alpine.js component initialises as follows. This is due to the x-data="{ count: 0 }" initial state.
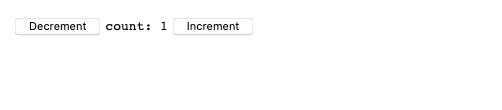
The component increments when the “increment” button is clicked. This is done through the x-on:click="count++" which listens to “click” events on the button (x-on:click) and on each click will run count++.
Event binding shorthand
In a similar fashion to x-bind having the : shorthand, x-on:event-name="expression" can be written as @event-name="expression". Again this is reminiscent of the Vue.js v-on shorthand.
Which means our previous example can be written as follows:
<div x-data="{ count: 0 }">
  <button @click="count--">Decrement</button>
  <code>count: </code><code x-text="count"></code>
  <button @click="count++">Increment</button>
</div>
Reactive show/hide
The following is an example of the strength of Alpine.js, combining x-data, x-on and x-show to show/hide pieces of content based on a count value.
<div x-data="{ count: 0 }">
  <button @click="count--">Decrement</button>
  <code>count: </code><code x-text="count"></code>
  <button @click="count++">Increment</button>

  <p x-show="count === 1">
    Shown when count is 1 using <code>count === 1</code>
  </p>
  <p x-show="count >= 0">
    Shown when count is greater than or equal to 0 using <code>count >= 0</code>
  </p>
  <p x-show="count === 2">
    Shown when count is 2 using <code>count === 1</code>
  </p>
</div>
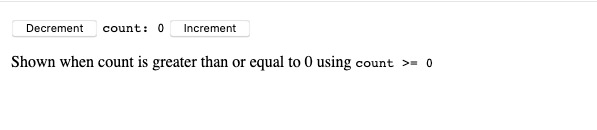
In the initial state we get the following output.
After 1 click of the “increment” button, count will be 1 and we will see the following output.

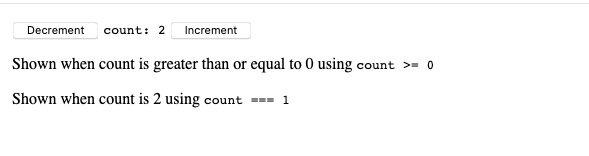
After another click of the “increment” button, count will be 2 and we will have the following output.
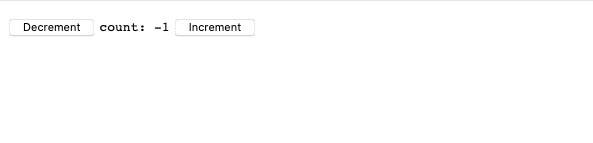
If we decrement all the way to -1, we see that the “greater than or equal to 0” paragraph also disappears.
We’ve now see how to listen to events and update state accordingly using x-on.
You can find the examples for this post at Alpine.js Handbook Examples - 1.4 Listening to events
That’s it for this post, you can check out the Alpine.js tag on Code with Hugo for more in-depth Alpine.js guides.
If you’re interested in Alpine.js, Subscribe to Alpine.js Weekly. A free, once–weekly email roundup of Alpine.js news and articles.
Photo by Alexander Andrews on Unsplash
Interested in Alpine.js?
Subscribe to Alpine.js Weekly. A free, once–weekly email roundup of Alpine.js news and articles
